- Sharing Our Places
- Stanley Milner Gallery
- Royal Museum of Alberta
- Muttart Conservatory
- Thursday Challenge
:: ::
23MAY05 - Photoshop CS2 Example
It is a rainy cold day and since I have recently upgraded to Photoshop CS2 I decided to play around with some of the its new functionality.
In one of my trials, I found an image I had made some time ago with an older Olympus digital camera. It was a fixed lens camera of some taller buildings, so I was using a wide angle conversion lens to get the whole scene in.
Here is my before image...
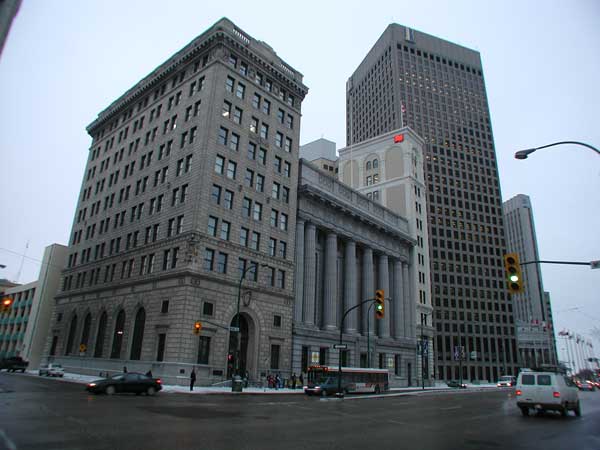
and here is the new and improved image...
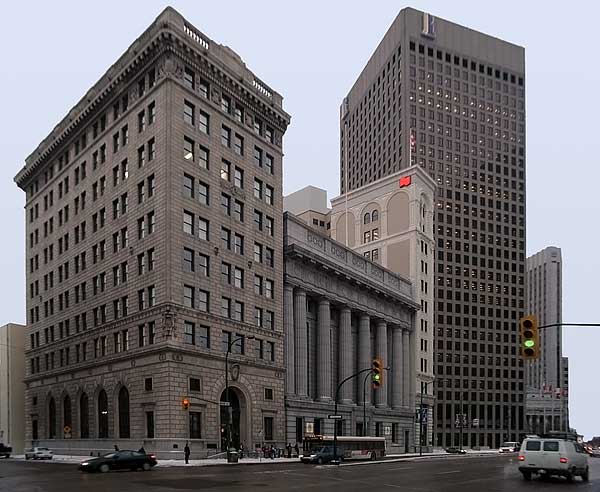
The good thing about this photo, for the purpose of experimenting with some of the new features of CS2, is that it has just about every kind of problem that one can find in a photograph.
It has barrel distortion, chromatic aberrations (color fringing), and vignetting (darkening around the corners) because of the low quality wide angle lens. Since the buildings are tall and the photo taken close to them, there is also perspective distortion from having the camera tilted upwards to fit the tops of the buildings into the scene. The photo was taken on a cloudy winter day so the light is very soft and there is minimal contrast and the colors are dull. There are a number of distracting elements (street lights and flags) in the image. The image was taken with a low ISO setting, so while there is some noise in it wouldn't be enough to ordinarily remove.
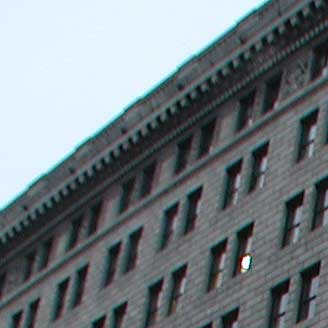
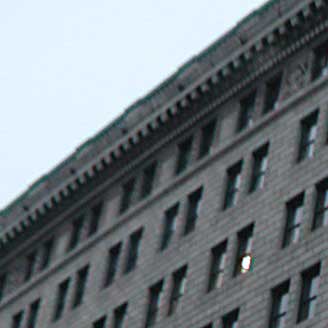
To start, I used the new lens correction filter to remove the chromatic aberrations. I think they were so bad in this picture, with the wide conversion lens and the bright background light that this function did not completely remove them, but it significantly removed this distraction.
I also used the new image noise removal function, not because it was truly needed, but just to try out as many new features of CS2 as I could.
Before...
After...
I then removed the barrel distortion, lightened the vignetting in the corners, corrected the vertical perspective. I also did a very minor correction to the horizontal perspective and corrected the angle of the camera by about 2 degrees to the left. There was still some small problems with distortion, so I used the new warp transform to correct these manually.
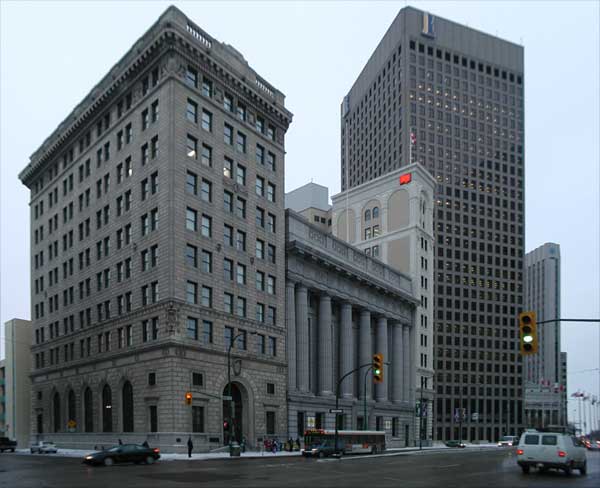
I then did the usual 'curves' correction to adjust the white balance and to improve the contrast of the photo.
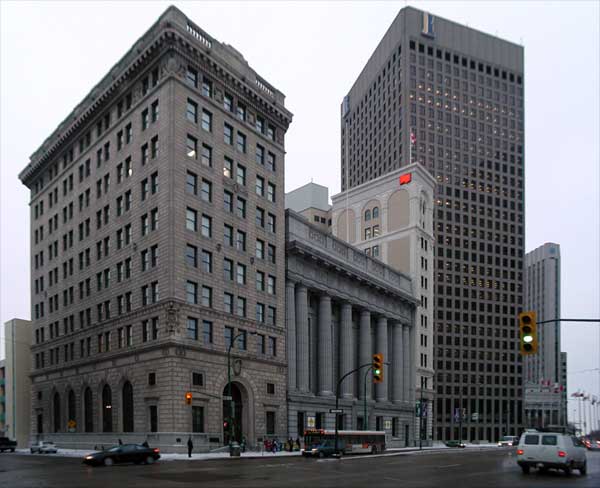
I then use the new spot healing tool to remove a few small distracting elements like the 'soft' flags in the left bottom corner. I replaced the sky with a blue gradient and used a warming photo filter on the building. I finished up by reducing the picture to 'Internet' size and used the new smart sharpen filter to make it crisper.

And again this is the 'old' image...

There are many other approaches I could have taken to fix this image up, but I am reasonably pleased with the result I got with these steps. Prior to CS2 I would have had to use a number of software tools that are external to Photoshop. This was definitely more convenient. I would of course got an even better result if I had the opportunity to take the photo with a appropriate lens or with a view camera, but the important thing here is to take a poor quality picture and make it usable.
To sum up, I used the following new Photoshop filters and functions:
- lens distortion correction
- noise removal
- spot healing and
- smart sharpening
I also used the photo filters (CS1), alpha masks and curves.
Aren't rainly cold days fun!
Enter a comment..